


Thank you! Your comment has been submitted successfully. You should be able to view your question/comment here within a few days.
Error submitting comment. Please try again momentarily.


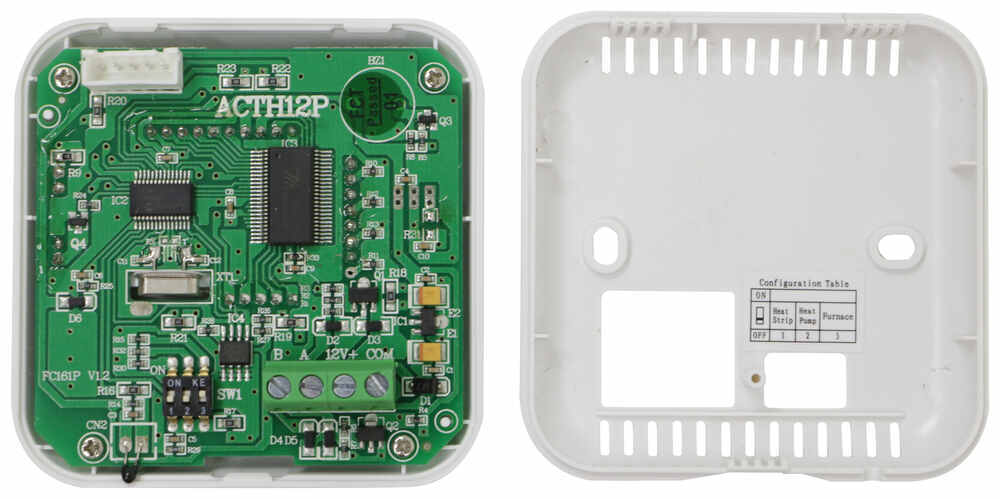

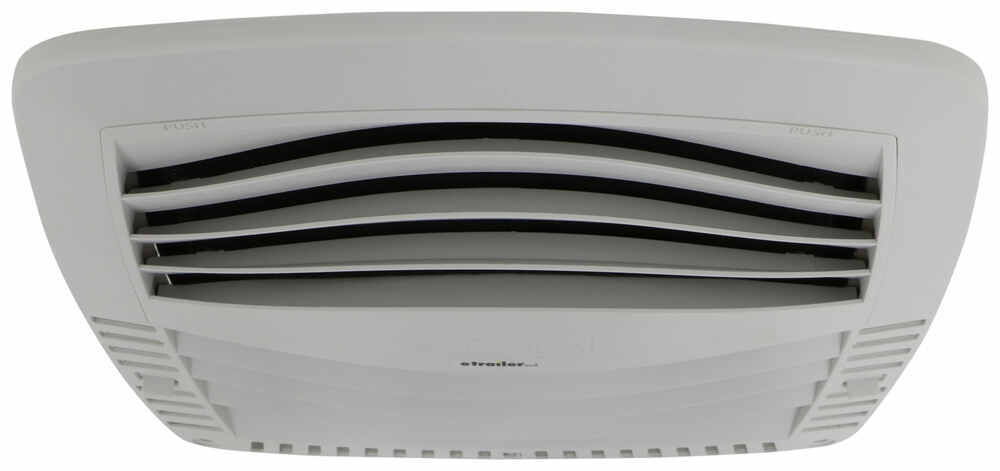

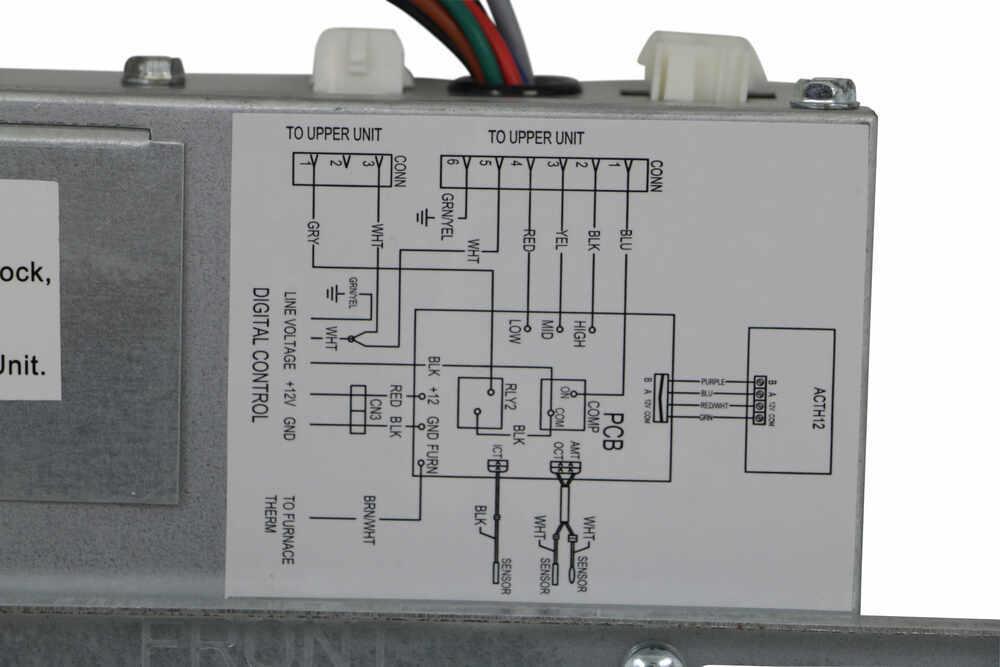
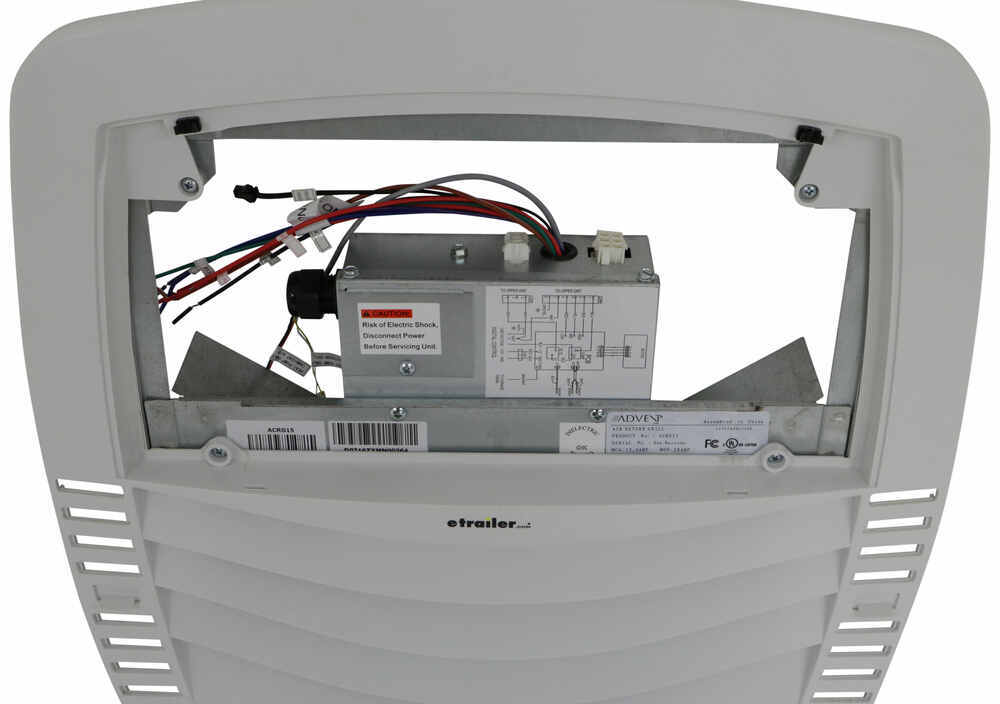
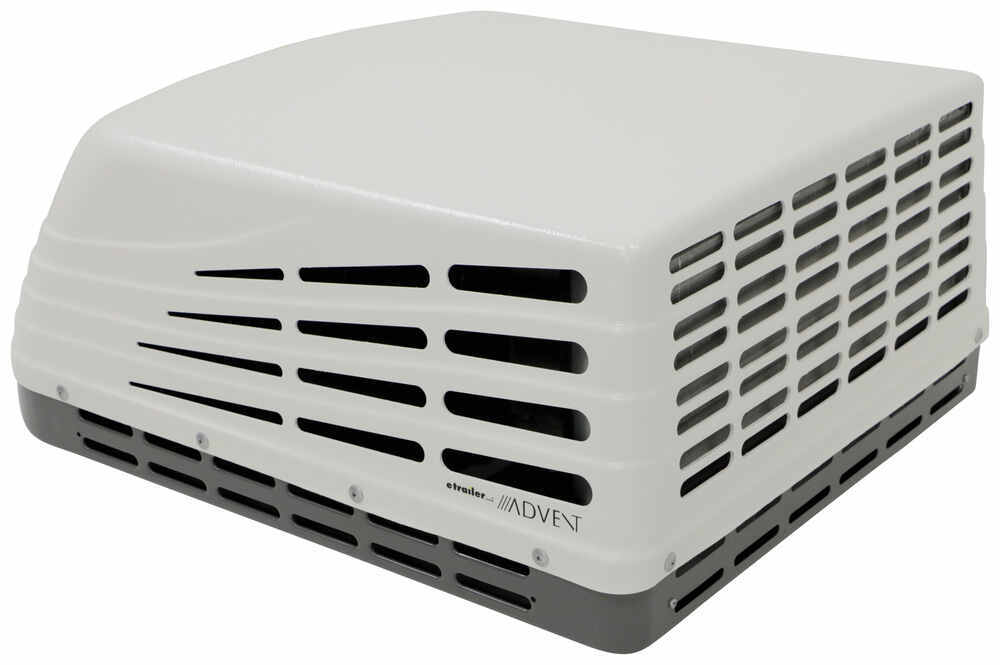
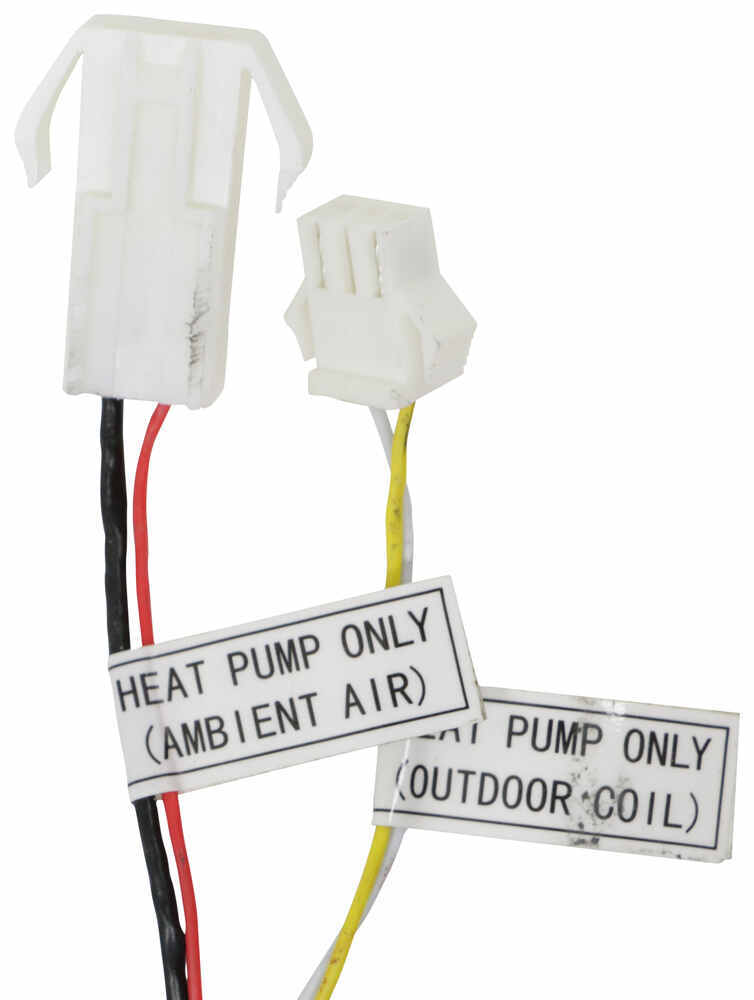
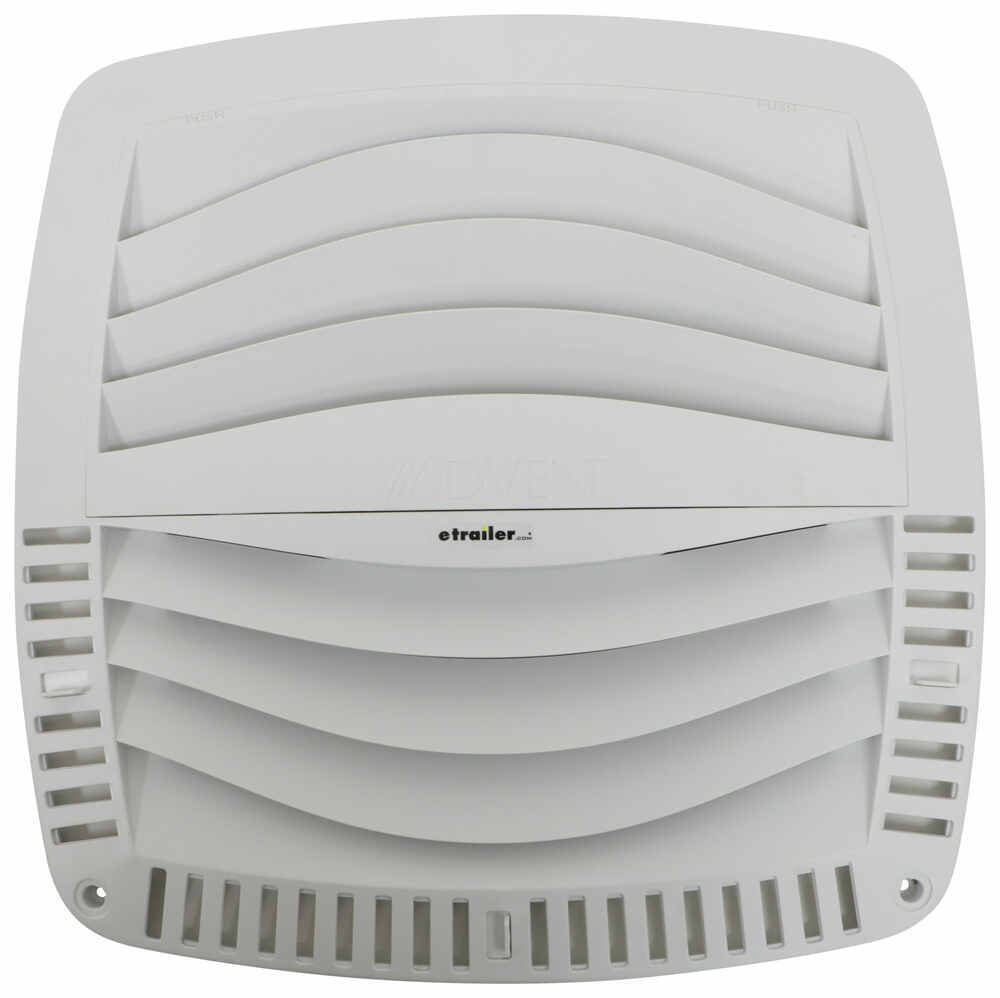
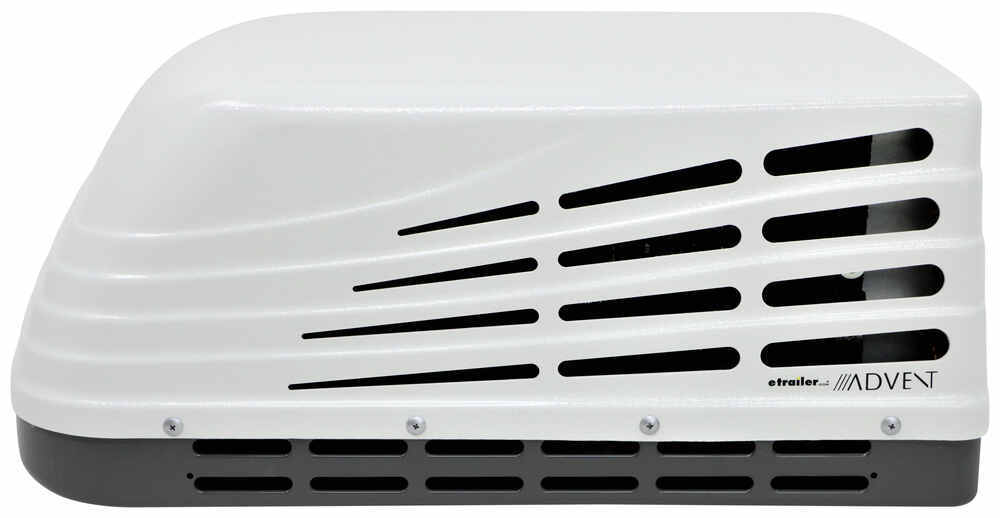


Cool your RV without piecing together parts. This 13,500 Btu system uses R32 refrigerant, works with ducted or non-ducted setups, and includes the rooftop AC, air distribution box, wall thermostat, and start capacitor for more reliable starts.
Features:
Specs:
Notes:
The AC unit includes an air distribution box with a built-in thermostat. The thermostat has an LED digital display that lets you control the mode, fan, and temperature settings. If you add an electric heat strip (sold separately) to remove the chill on cold mornings, then the thermostat also controls the heat setting. Additionally, there are adjustable registers on the front and back of the box. These can be tilted up, down, or side-to-side for directing the air where needed. The removable air filter prevents dust and dirt from building up on the fan blades.
If your campsite or generator isn't able to draw the power you need, then you may have difficulty starting your AC unit. The included start capacitor, however, can eliminate this problem. The capacitor stores energy that will later be used to jumpstart the AC. Once the sufficient amount of power has been supplied to the AC, the compressor will start to run, and the internal relay switch will turn the start capacitor off. At the same time, the compressor will send "back voltage" to the relay switch and capacitor in order to energize them for the next startup.
Because your RV is likely already prepped and pre-wired for an AC unit, installation is simple and easy. Most AC units, including this one, are designed to fit an opening that measures 14-1/4" x 14-1/4". Depending on your roof setup, you may need to do minimal alterations. If the opening is larger than 14-3/8" x 14-3/8", you will need to install spacers between the sides of the unit and the opening's edges. If the opening is smaller than 14-1/8" x 14-1/8", you will need to enlarge the hole to fit the unit snugly inside the opening.
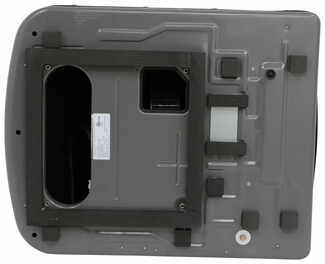
On the bottom of the AC, there's a thick, collapsible gasket with 6 noise-reducing foam pads. This provides support between the RV roof and AC and seals the opening to prevent water and outside air from leaking in. Because of this, the use of fresh sealant isn't required during installation.
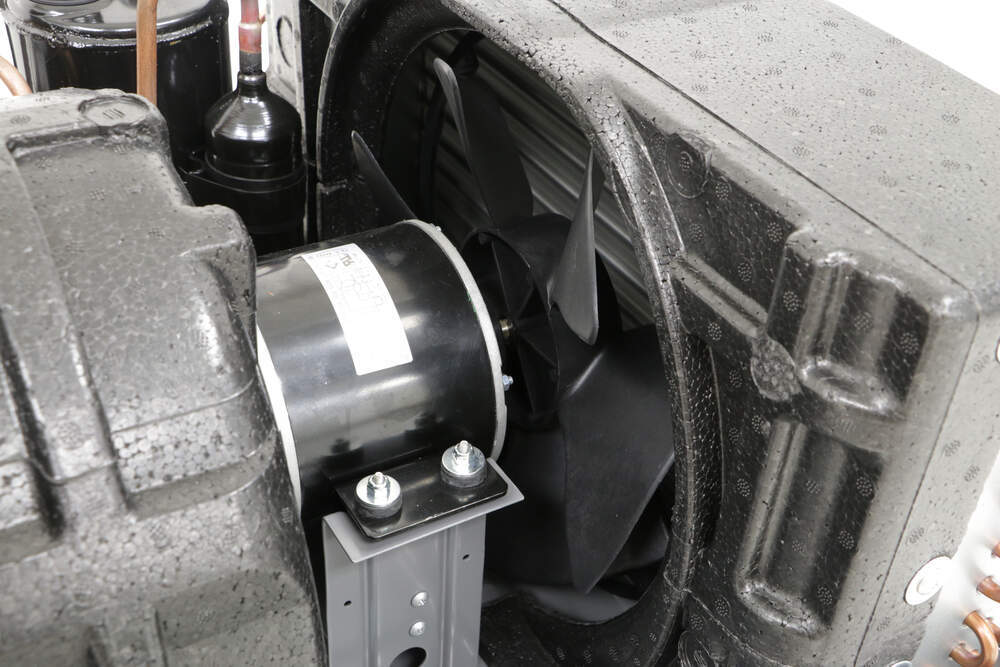
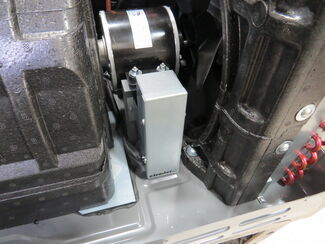
To install the start capacitor, bolt it to the fan motor support with the included hardware and then route the wires to the run capacitor.
Once installed, the hard plastic cover on the AC can easily be removed for maintenance and cleaning.
2-Year limited warranty covers defective units when installed correctly on approved applications. The warranty does not cover units installed incorrectly. To ensure air conditioner is installed correctly, please see the questionnaire pdf below. A filled-out questionnaire is required for warranty coverage.
If you are not comfortable using a voltmeter (or removing the charge from the start capacitor), you'll want to make a service appointment with your local RV dealer to verify the installation. Print the pdfs below (warranty- questionnaire, warranty dealer information) and take them along with the RV to your local dealer. ASA does compensate dealers for warranty work as outlined in the dealer information pdf. You may be charged by the dealer for time spent investigating the installation.
Ratings & Reviews

Units work great so far cool real good and look great also!!
Great Unit simple install. Hardest part if getting the unit up to the roof.
The unit arrived undamaged but the way it was packed could have been better the box took a beating
Easy install, works great.
This is great upgrade to my Airstream Flying Cloud 26ft Travel Trailer!!!
Arrived on time and well boxed fitted the exterior unit and will fit the internal next very pleased
Excelent product and Services
Installing the bottom plate requires 33-36 inch pounds. This seems like a lot of torque considering the plate has no real reinforcement. I have seal compress about 1/2 the thickness and the bottom plate is somewhat bent now. The opening is a perfect size for the plate. It just seems excessive. Overall, it was simple to install. It seems the starter motor could be installed at factory.
Quick delivery! We needed a little help from a pro for the wiring but there were amazing videos for the rest of installation online. The trailer is cool again! Thank you!
The bottom pan of this unit is very thin, the rubber vibration cushions did not reach the roof. The back of the unit sagged towards the roof enough to cause the fan (squirrel cage fan) to rub the insulation housing. After I built a spacer to raise the rear of the unit to level, the fan had clearance and the unit ran perfectly. The instructions with the thermostat are not very clear. However I finally figured it out and it works very well. It is quieter and cools better than the 16 year old Coleman Mach unit it replaced.
Just installed yesterday, working great, great tech service
Very knowledgeable and helpful . My go to place to assure that I am buying the correct item .
not only is the new unit excellent, The customer service was just as good. had a damaged unit come to me and they had a replacement delivered less than 48 hrs later
The install on our 2020 Artic Fox 29-5T 5th wheel was easy, but this unit is very loud, especially for our bedroom. It does the job of cooling off the coach. With this configuration replacing the Max Air Fan cold air can only exit into the wall 6 inches away instead of the room which creates distribution problems.
Easy install. Second Advent of this model. Found that the mounting bolts for the AC a little short. Used the old bolt to get it to fit nice and snug. The hardest part is undoing the old AC wiring for the Tstat. All went smoothly. Sorry no pic's for this install. Changing from an old Dometic to Advent is not hard. I just double checked the wiring which was a mess. Works great! Thank you etrailer.
Unit was easy to install with a lil help from YouTube University. This was my first time ever taking in a task such as this. The job was fairly straightforward and I installed the unit without any hiccups. The only issue I had was, I was replacing a Carrier V unit that’s installed in my 2007 RV. It also has the wireless remote and, wanted to keep that function because, my RV was not previously wired for the physical thermostat like the one provided with my unit. I ditched that idea after doing some research which stated I can but, William from ETrailer said that it can’t be done. I think I remember him saying that because, it was a pre 2025 model or something to that affect. He said that I can fool around with it and try to see if I can get it to work but, I simply said, “The heck with it!” I went ahead and simply installed the thermostat to the front is the cover plate and it works just fine. Check out my photos !!!
Do you have a question about this RV Air Conditioner?
Info for this part was:
At etrailer we provide the best information available about the products we sell. We take the quality of our information seriously so that you can get the right part the first time. Let us know if anything is missing or if you have any questions.
















Victoria H.
3/28/2025
Thanks for your feedback Joe! I'm relieved the a/c wasn't damaged although the box didn't make the trip. Let us know how install goes.